When setting up Switcher Studio, there is one important step you must take before launching the app each time: go into your general iOS settings and connect each device to the same WiFi Network. This is important, because it allows each of your devices to see one another when you open the app so they can wirelessly sync to the main device.
Setting Up a Network for Livestreaming
When you're setting up your WiFi Network for livestreams, there are two potential routes to keep in mind:
- Local Network (used for communication between devices)
- Outgoing Network (used to upload)
Local Network
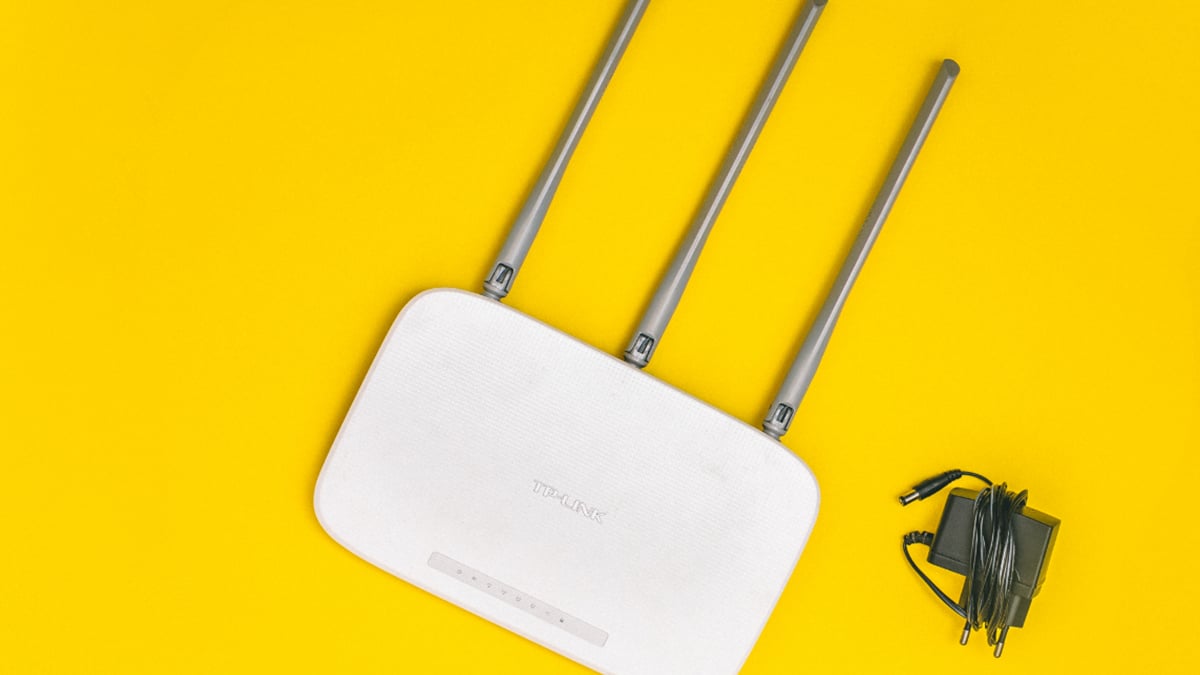
If you are recording only and do not plan to stream, then all you need is a local network with power (no need for an outgoing internet connection). This way, you can plug in a router or use your hotspot to create a "bubble" for your devices to communicate.
Be warned, though, as you may run into the following limitations if you don’t take appropriate steps ahead of time:
- Problems syncing devices
- Poor connection quality between devices
- Limited distance between devices
WiFi isn’t magic.
Outgoing Network
If you don’t have a good wireless connection your video quality and overall product may suffer. To get the best signal and video quality we recommend the following:
- Use a 5GHz WiFi router when possible. Older 2.4GHz routers are prone to interference and slower connection speeds.
- Avoid using an open or public wireless network. You want to be able to control as much or your production as possible — having your own router specific to your production will help limit surprises especially when shooting video off-site or on-location.
- Position devices near your router or access point.
- If your video setup is not near the primary access point consider running an ethernet cable from the outlet or network switch and setting up your router at the center of your production.
- Make sure you have a line of sight between your devices and the router. If your router is on the floor or if there are walls in the way, it could have an impact on your connection speed and throughput.
- Check your router settings and make sure the appropriate ports are open and “wireless isolation” is disabled as this can prevent devices from appearing inside of Switcher as an available input. You will also want to make sure “TX bursting” and “frame aggregation” is turned off, these settings can result in extreme dropped frames if not properly managed.
For a list of advanced network settings view our Network Requirements Knowledge Base article.
The most important part of working with WiFi is to test in advance! Whenever you go live, make sure to setup your gear and test ahead of time. This is especially important if you are shooting video at a new or different location. If the venue or location has a network admin or IT contact, be sure to let them know what you are trying to accomplish and arrive a day or two before your event so you have time to make adjustments if needed.
Stay tuned for Part 2 of the Networking Demystified series.
Subscribe to the blog
Sign up to receive notifications whenever a new blog post is published. You may unsubscribe at any time.

Share
About the Author

Nick is a livestreaming and social video expert and leads the Switcher Studio team as CEO and co-founder. Since 2014, he has led the company to partnerships with Facebook Live, LinkedIn, Microsoft Stream, and beyond and has garnered features in TechCrunch, USA Today, Inc. Magazine, and BBC. Nick is also a member of the highly competitive Endeavor Entrepreneur network.
All posts by Nick Mattingly