Is your iCloud account full, and you want to add videos to your camera roll? Below are a few ways to help get that video off your computer or other devices and onto your Camera Roll.
The three best ways we have found are:
- Emailing the video file to yourself (works best with small files)
- Using Apple's AirDrop (requires other Apple products)
- Use a file share service (we recommend Dropbox)
Email:
Apple AirDrop:
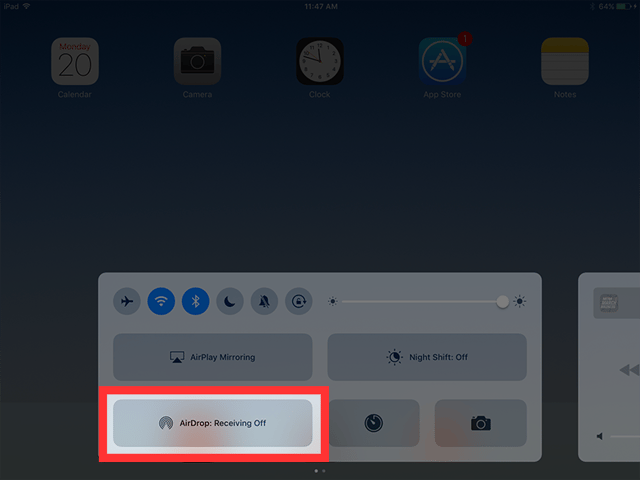
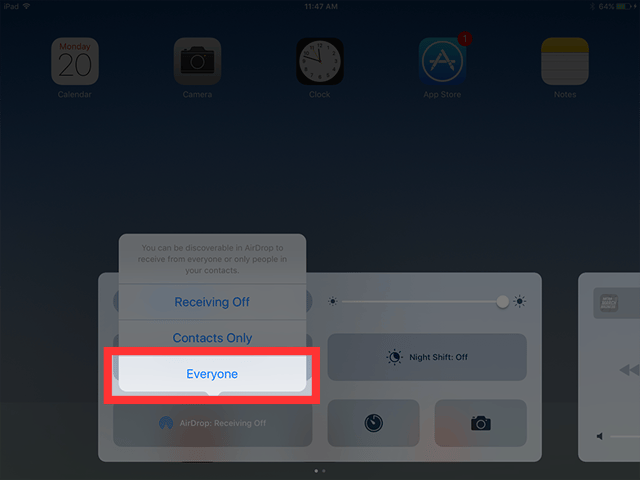
A list will appear allowing you to choose who you want to AirDrop with. I recommend selecting the option of everyone.
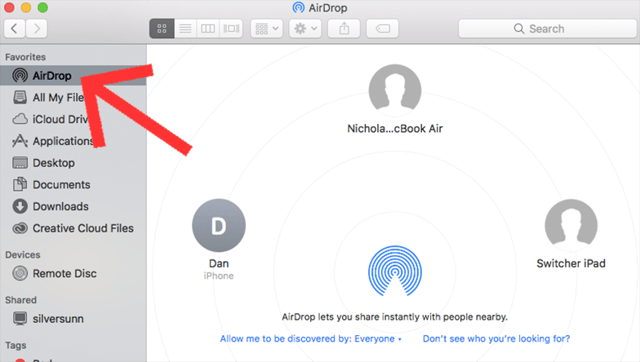
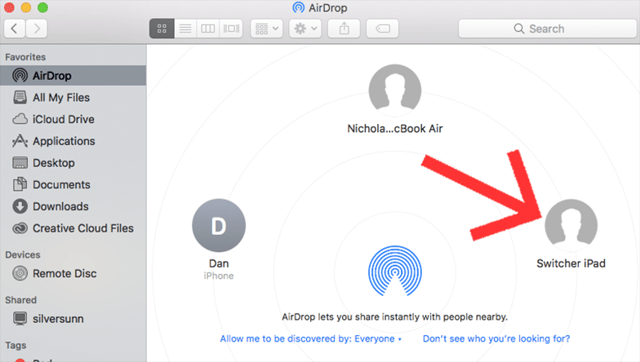
All you have to do is choose the file from your computer and drag it over to the icon of your iOS device. On your device you will get a notification asking if you want to accept the file or not, tap on “Accept”.
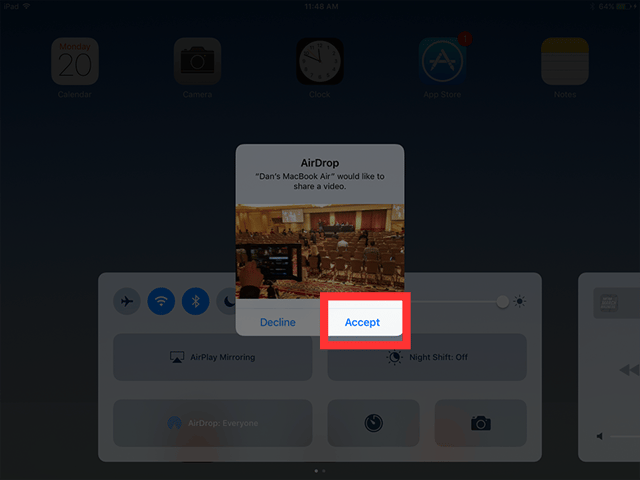
The file will now save to your device and be available on your camera roll. Ready for use in your next production.
Dropbox:
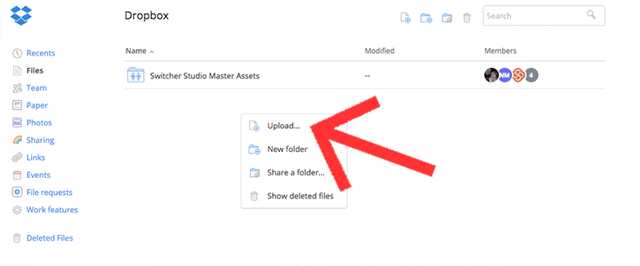
Next click where it says “Choose files”.
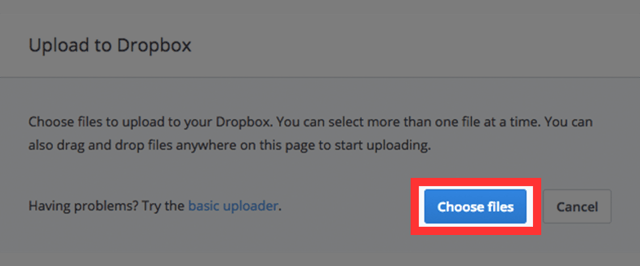
This will bring up a window where you can navigate through your computer’s files to find the video clip you wish to upload. Once you have found the clip you want to upload, select it and click “Open” in the lower right of the window.
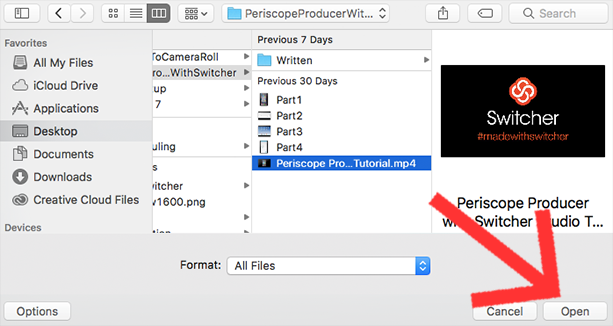
The file will now begin to upload to your Dropbox account.
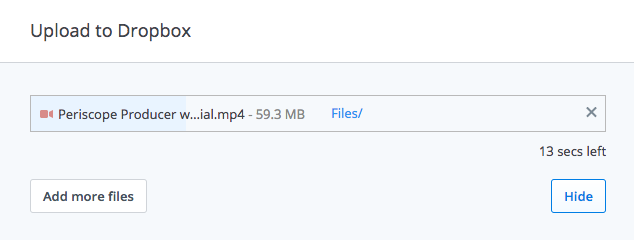
The file will show up on your account when once it finished uploading.
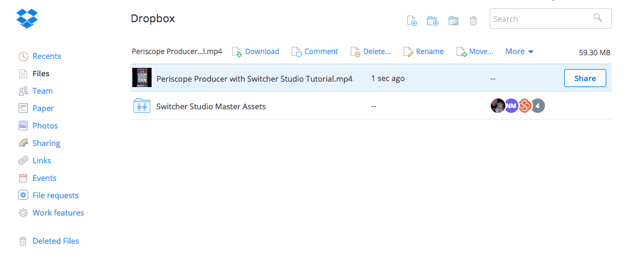
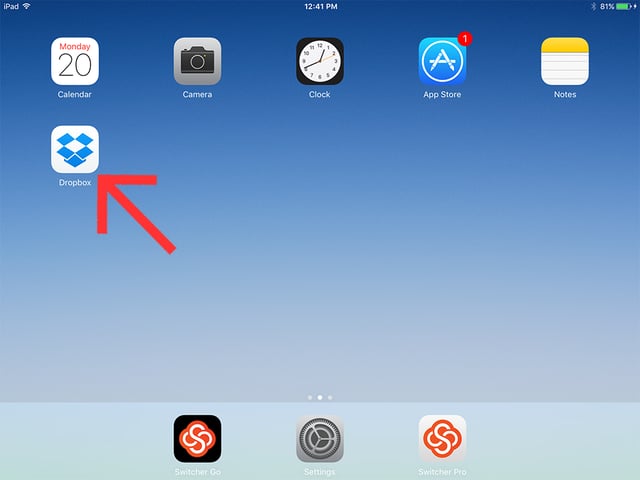
When the file finishes uploading we are ready to move over to our iOS device and download it there. The first thing you will have to do is head over to the App Store and download the Dropbox app. Once the app download is complete, tap the Dropbox icon on the iOS device.
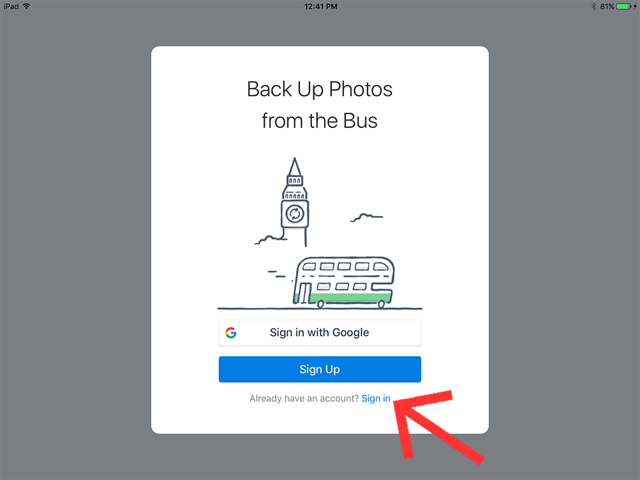
Since we already setup our account on the computer, choose “Sign In” at the bottom and enter your login information.
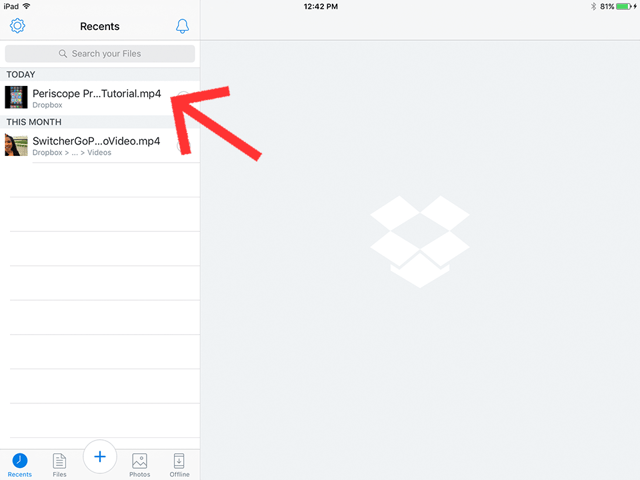
Now that we have signed into our account, you will see a list of our uploaded files on the left. Tap on the one you want to save to the camera roll.
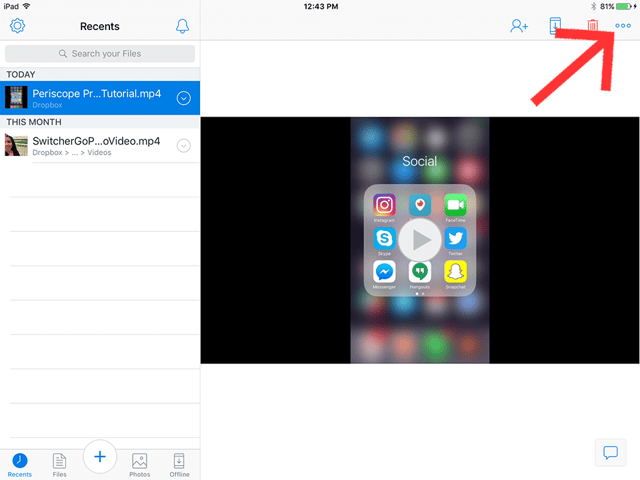
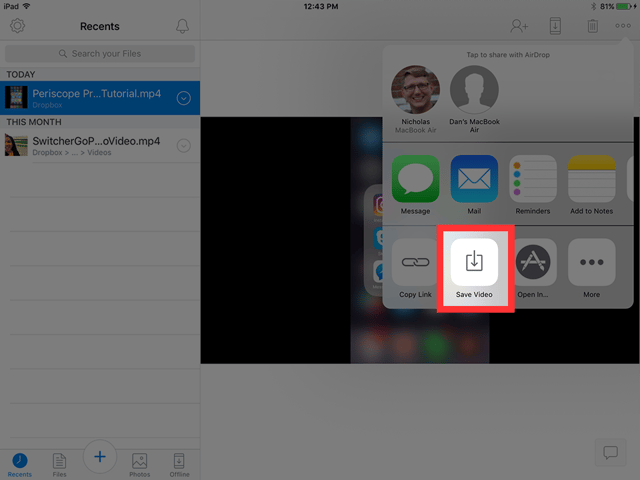
Next in the very upper right corner you will see an icon that looks like three dots, tap on that.
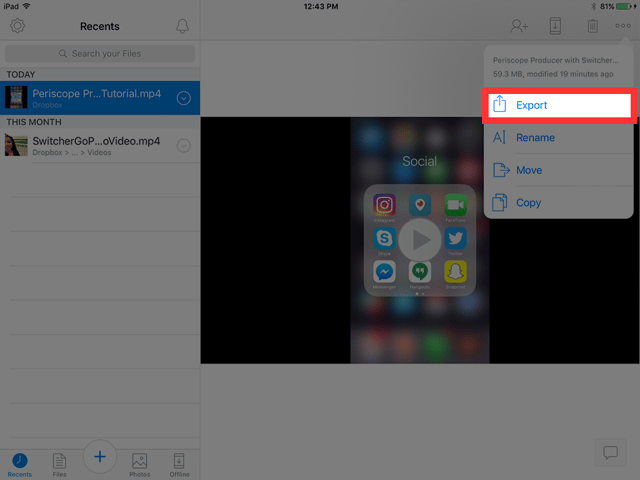
Choose “Export” from the drop down menu.
From here we will want to select “Save Video” located towards the bottom left of the drop down menu.
Subscribe to the blog
Sign up to receive notifications whenever a new blog post is published. You may unsubscribe at any time.

Share
About the Author

Dan is Switcher's customer success manager and a co-founder of the company. He is a live video expert, helping companies like Golf Channel and Korbel create amazing livestreams with Switcher. Prior to co-founding Switcher, Dan spent 4 years working at an agency that helped businesses create and stream live video.
All posts by Dan Petrik
