There are many ways to create graphics for your live broadcast. Lower-thirds add a professional appearance to your broadcasts. Logos allow you to brand yourself and your guests in your videos. Using a combination of these help to take your live video to the next level.
Some popular programs used to create graphics are Adobe Photoshop, Acorn 5 and Affinity Photo. But many users aren’t pro graphic designers and want a reliable program to create lower-thirds for their broadcasts. Luckily, there are many high-quality free editors available online.

Canva is a free graphic design website for graphics creation. It features a drag+drop, “what you see is what you get” interface. Canva also provides access to over one million graphics, fonts, and stock photographs. With a selection like that, there’s no wonder that many new designers and professionals alike are flocking to Canva.
How to create live video graphics with Canva
Creating graphics with Canva is quick and easy to do. Follow the steps listed below, and you will have your own template for your business’s logos and lower-thirds in no time.
- Go to canva.com and create an account. Accounts are free, and they will allow you to store all your graphics for future edits and downloads.
- You will see the Create A Design bar across the top. Click on the icon for More…. It should be the last icon on the right-hand side of the bar.
- Scroll down until you see Social Media & Email Headers. Select the icon for YouTube Thumbnail. It should be a 1280x720p image.
- You will now see your new design window. This is where you will design your new graphics using Canva’s tools.
- From the menu on the far-left side, you are able to add different pieces to your new design. Choose Elements to add shapes. Text allows you to add headlines and phrases. Backgrounds help your graphics to stand out. Selecting Uploads allows you to add images from your desktop or Camera Roll, as well as stock images.
- Now, it is time to download your new design. If you created a lower-third or corner bug, you’ll want to download the graphic as a .png file so that the background is transparent. For full-screen graphics, download the graphic as a .jpg file.
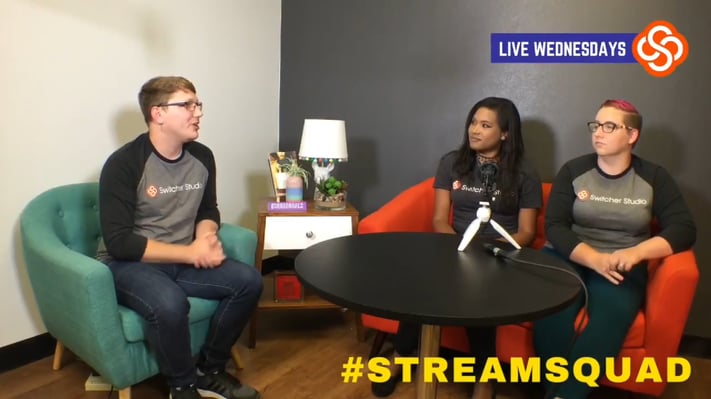
You are now ready to use your graphics in your next broadcast. To learn how to import graphics into Switcher Studio, check out this helpful guide!
#GetOut. #GoLive. #BeAwesome.
Subscribe to the blog
Sign up to receive notifications whenever a new blog post is published. You may unsubscribe at any time.
Share
About the Author

As Customer Support Manager, Angela seeks to keep users knowledgeable on Switcher's ever-evolving features and how they boost live video potential. She's also a Switcher user herself and uses the software to produce both live and recorded content for multiple platforms.
All posts by Angela Nicole Cobble

