If you've decided it’s time to go live, one of the first things you'll want to tackle is your camera settings for live streaming. Whether you're broadcasting on Facebook Live, hosting virtual events, or streaming on YouTube, having your camera set up properly can make all the difference between an amateur-looking video and a professional-grade stream.
In this guide, we'll walk you through the best settings for your DSLR or mirrorless camera and offer tips on audio, lighting, and other streaming equipment to ensure you look and sound like a pro.
Choosing the right camera for live streaming
Before we dive into the nitty-gritty of camera settings, it’s essential to choose the right camera. For live streaming, DSLRs and mirrorless cameras are wonderful options thanks to their fantastic video quality, flexibility, and ability to produce a professional-looking stream for a modest investment. But how do they differ?
DSLR camera vs. mirrorless camera
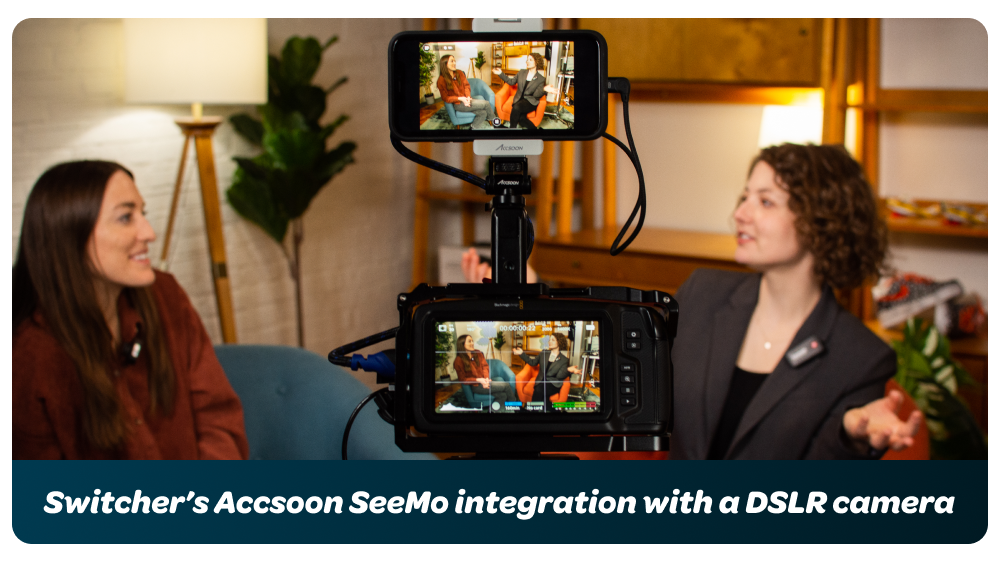
Each camera type has its own set of strengths and weaknesses. Here’s what you need to know to help you decide between the two:
-
DSLRs: These cameras have been around longer and offer a more traditional feel with a wide selection of lenses. They tend to have a more rugged, bulkier build and typically have a larger sensor, which can provide better low-light performance and a more cinematic depth of field (that beautiful blurry background).
-
Mirrorless cameras: These are lighter and have a more compact setup. The image quality is on par with DSLRs, but the lens selection is a bit smaller and the battery life can tend to be shorter. That said — mirrorless cameras usually offer faster autofocus, which is great for live streaming when you’re moving around or switching between multiple scenes.
What are the best settings for DSLR for live streaming?
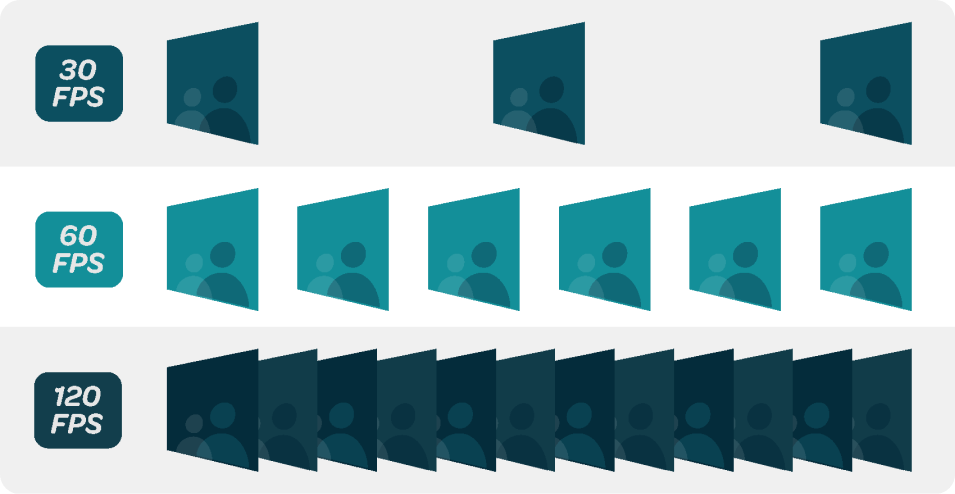
Now that you’ve chosen your camera, it’s time to optimize the settings for live streaming. While every camera will have some of its own specific settings, there are a few universal ones that will help you get the best image quality and smooth streaming experience.
1. Resolution and frame rate
One of the first things to consider when setting up your live stream is resolution. For most platforms, streaming in 1080p is standard for a crisp, clear feed and is the best resolution for streaming video. You should avoid going higher than 1080p unless you have a strong internet connection and streaming software that can handle the higher bandwidth of 4K streaming. Remember, higher resolution requires more processing power and a faster upload speed.
If you're looking for the best resolution for streaming video, 1080p at 30fps (frames per second) or 60fps will usually be your sweet spot.
60fps is ideal if you’re doing action-packed streams, such as gaming or sports, where smoother motion is required.
2. Shutter speed
The shutter speed plays a significant role in the overall look of your stream. The general rule of thumb for live streaming is to set your shutter speed to double your frame rate. So if you're streaming at 30fps, set your shutter speed to 1/60. If you're going for 60fps, set your shutter speed to 1/120.
Setting the shutter speed to twice your frame rate will give your stream a more natural look. If you go too fast or too slow with your shutter speed, your stream might look choppy or unnaturally smooth, which can distract your audience.
3. ISO and exposure
The ISO controls the sensitivity of your camera’s sensor to light. You’ll want to adjust the ISO to ensure your stream isn’t too dark or overly bright. The general advice here is to keep your ISO as low as possible to avoid introducing grain or noise into your stream. However, if you’re streaming in low light, you may need to bump it up.
In terms of exposure, balancing the ISO, aperture, and shutter speed will help you maintain proper lighting. Keep in mind — the aperture (or f-stop) controls how much light enters your lens. Lower f-stop values (like f/2.8 or f/4) give a blurry background and more light but might result in less depth of field, while higher f-stop values (like f/8) offer more sharpness in the scene.
Setting up the perfect live stream
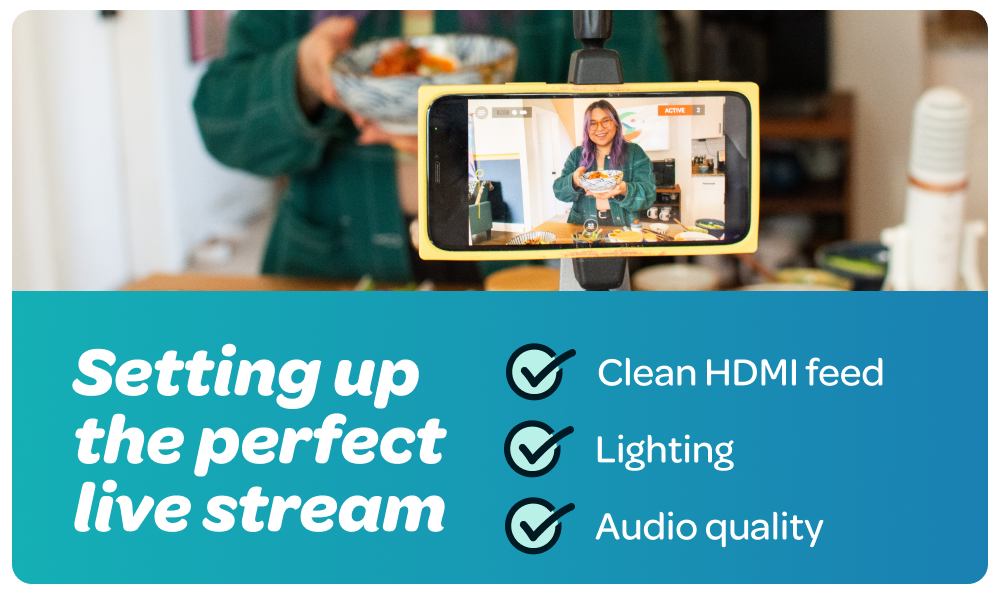
Once your camera is in place and ready to stream, you’ll need to make sure the rest of your setup is up to the task. Here’s what you’ll need for a smooth, professional live streaming experience:
1. Clean HDMI feed
One of the best ways to ensure your stream looks clean and professional is by using a clean HDMI output from your camera. A clean HDMI feed means you won’t have any distracting overlays or info (like battery percentage or focus marks) cluttering up your video. To get this feed, check your camera’s settings to ensure HDMI output is set to "clean" or "output."
2. Lighting
Lighting is often overlooked, but it's one of the most important factors in creating high-quality streaming video. Good lighting will give your stream a professional feel and ensure you're well-lit without harsh shadows or overexposure.
For the best lighting, consider using a three-point lighting setup:
-
Key light: This is your main light, placed at a 45-degree angle to your face to create dimension.
-
Fill light: This softer light fills in shadows created by the key light.
-
Backlight: This light, placed behind you, separates you from the background and adds depth.
If a three-point lighting setup isn’t feasible, you can find light sources specifically designed for video streaming, such as ring lights or lights with a softbox. These provide even and soft light, which is perfect for minimizing harsh shadows on your face.
3. Audio quality
While great video quality is essential, audio quality can make or break your stream. Viewers are far more forgiving of slightly lower video quality than poor sound. Built-in microphones on your camera may work in a pinch, but they often pick up unwanted noise, have an echo, and can be the culprit of other distractions.
To get the best audio for your live stream, invest in an external microphone. Depending on your setup, you might use a shotgun mic, lapel mic, or a condenser microphone for clearer, more focused sound.
Additionally, check your audio settings within your streaming software to ensure there’s no distortion or unwanted gain. Keep an eye on the volume levels to avoid clipping or distortion.
Streaming software and setup
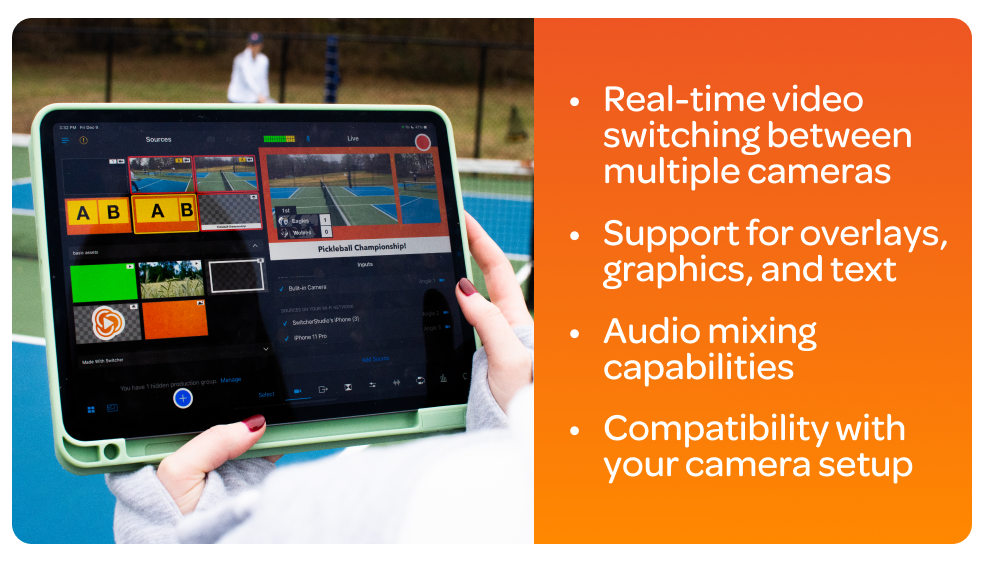
Having the right streaming software and using the best platform for your content is just as crucial as your camera and audio setup. There are a variety of tools available to help you broadcast to platforms like Facebook Live, YouTube, or Twitch, each offering different features. Look for options that offer:
-
Real-time video switching between multiple cameras
-
Support for overlays, graphics, and text
-
Audio mixing capabilities
-
Compatibility with your camera setup
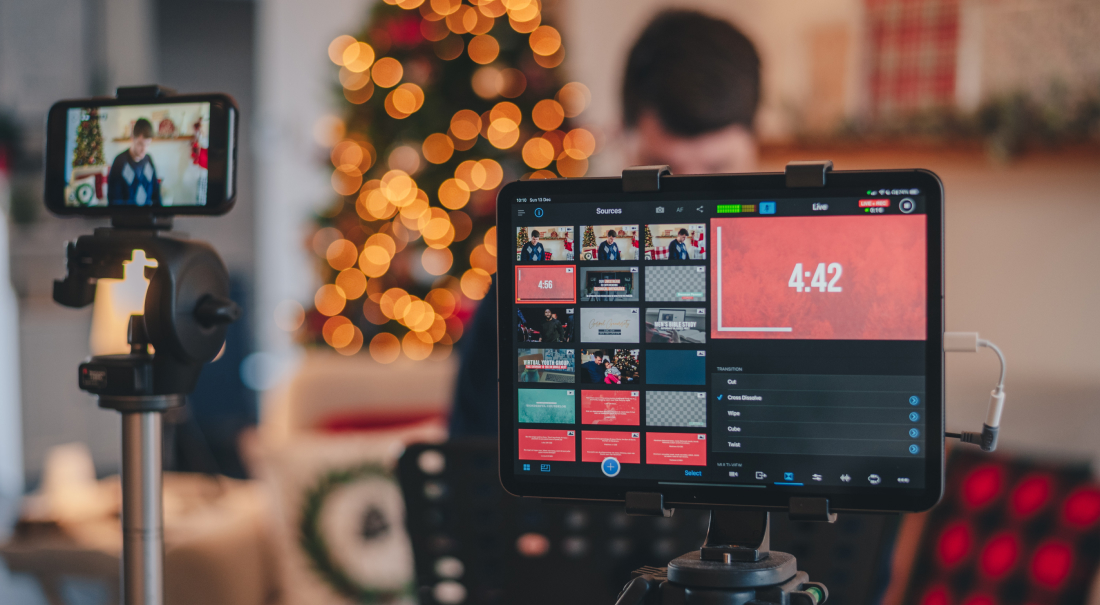
With features like real-time switching between multiple devices, easy-to-use live editing, and compatibility with various cameras, Switcher offers excellent tools for live streaming and makes it simple to produce polished streaming content. Whether you're streaming from your phone, tablet, or camera, Switcher can handle it all.
Start streaming!
In the world of live streaming, getting your camera settings for live streaming right is key to delivering a high-quality video feed. With the right DSLR or mirrorless camera, excellent lighting, clear audio, and reliable streaming software, you’ll be well on your way to creating professional live streams that keep your audience engaged.
And if you need a go-to streaming software, Switcher offers everything you need to elevate your live streaming setup. You can seamlessly switch between multiple video feeds, add graphics and overlays, and stream in high definition—all in real-time. See for yourself how it can help you live stream like a pro and try Switcher free for 14 days.
Subscribe to the blog
Sign up to receive notifications whenever a new blog post is published. You may unsubscribe at any time.
